Holi-DIY Ornament Contest: Sweet Santas
Dec 11, 2015, 15:30 PM
To help everyone get in the holiday spirit, we challenged our Marketplace Events team members to a friendly DIY competition. Employees had just over a month to create a cute, original ornament. There were no restrictions on size, style, or influence - it just had to be homemade.
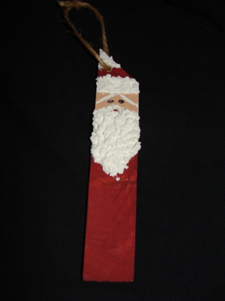
Check out the full list of entries on our Facebook page and vote for your favorite. But first, learn how Karen A., Exhibit Sales Consultant for the Birmingham Home + Garden Show, created her fabulous Santa ornaments.
Here's what Karen had to say about her DIY:
"My inspiration for this Christmas ornament came from my sister, Katherine, who made a set of these with my nieces when they were younger. The holidays are a time for family and what better way to spend a weekend afternoon together than making a set of fun and affordable ornaments for your Christmas tree. Forget about the lines at the mall and stay at home and have some fun!"
What you'll need:
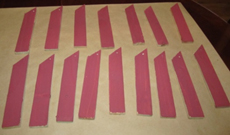
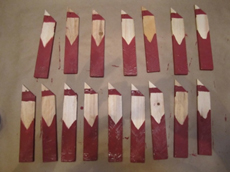
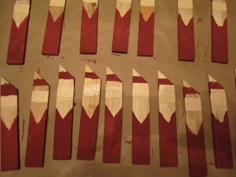
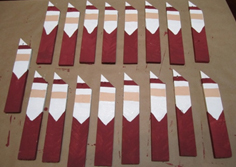
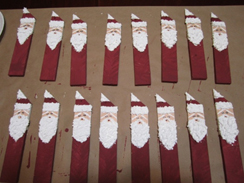
- Wood shims cut at a 45° degree angle
- Burgundy craft paint
- White craft paint
- Flesh tone craft paint
- Gold glitter craft paint
- A black Sharpie
- Foam brushes
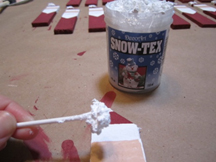
- Snow-texture
Directions:
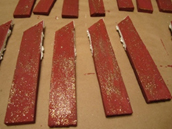
Step 1: Start by putting a coat of burgundy paint on one side of all your shims.

Step 2: Once dry, turn over the shims and paint the lower portion and the hat burgundy. Leave room on the point of the shim for the white paint.

Step 3: Apply the flesh tone paint for the face. Be sure to leave a small amount of space between the burgundy hat and the face.

Step 4: Paint the tip of the hat, the brim of the hat, and the beard white.

Step 5: Using a Q-tip, apply the snow texture to the tip and brim of the hat. Take your time and apply as much or as little of this texture as you'd like.

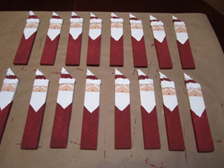
Step 6: Using the white and burgundy paint, apply Santa's eyebrows and mouth by drawing two diagonal lines and a small dot.

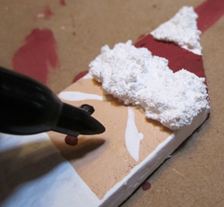
Step 7: With a black Sharpie, apply Santa's eyes.

Step 8: Finish applying the snow texture to every Santa's beard, carefully going around their mouths.

Step 9: For some extra sparkle, after the front has completely dried, turn over the ornaments and apply a coat of gold paint to the back.

Step 10: Drill a hole through Santa's hat and thread with twine.

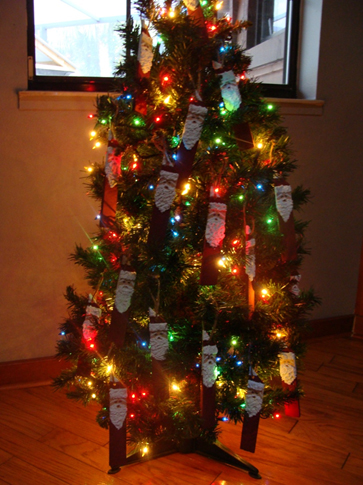
Step 11: Hang on your Christmas tree and enjoy!
The great thing about this project is that you can make several dozen ornaments with the supplies listed above and the cost per ornament is about 30 cents each (depending on just how much snow texture you use on each ornament).
We love this tree full of homemade Santas! What do you think? If you're a fan, make sure to vote for Karen A.'s ornament in our HoliDIY Challenge! Visit Facebook to cast your vote today!
)


